
One of my Christmas presents this year was a beer making kit.
I am including links to purchase directly from Mr. Beer, if you are in the United States. They have also provided a 10% off Coupon Code AFL-KEGV, which you would place on your order. For Canadians, I am including Amazon links. As this was a 3 step process, I am posting in 3 parts to break things down a bit!
I am not new to making beer, wine and cider. I had previously made wine at a local wine brewing store, brewed beer at a brew your own location, and then moved on to making cider and beer at home initially with kits.
The cider-making came as a result of growing a small orchard full of apples, pears, plums, cherries and asian pears, and finding things to do with the produce. After baking endless pies, crumbles and upside down cakes, preserving apple and pear jelly, plum jam, apple butter and pears and plums in brandy, I moved on to pears in vodka, cherry cordial and rumtopf. Finally, I thought why not brew all of that fruit into cider. It was time consuming, but not too difficult. I think I’ve just given myself a todo list of recipes to post in the future.
Back to the brew kit. It was nice to get some new equipment, as I had given away some of my glass brewing jugs when we moved, and the process for this new brew kit has been simplified. Previously I had tried the Brooklyn Brew Kit in IPA. I wasn’t happy with part of this beer making process, and so hadn’t tried it again.
This kit was reusable and was enough to brew 1 gallon of beer.
- “Included: afternoon wheat beer making mix (grain, hops, and yeast), 1 gallon glass fermenter, airlock, glass thermometer, sanitizer
- Also includes: racking cane, tubing, tubing clamp, screw cap stopper, and packet of sanitizer
- Makes 1 gallon of beer (9-10 12 ounce bottles)
- Kit is reusable. written and video instructions available at brooklynbrewshop.com/instructions
- Not included: strainer, funnel, pot, and bottles”
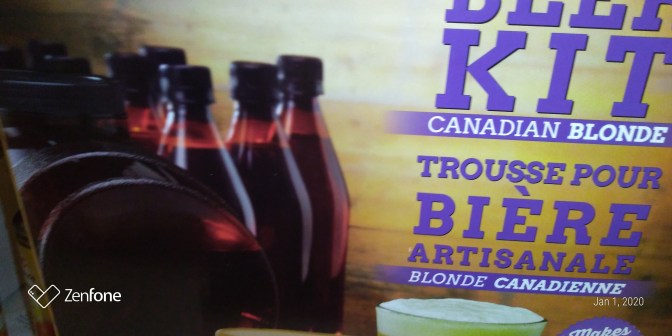
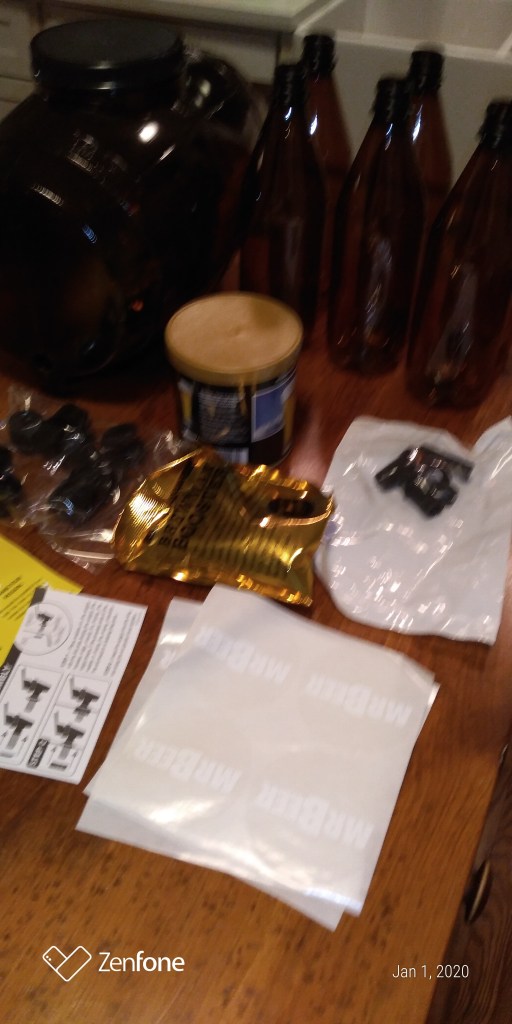
The kit that I received this year was from Mr. Beer. The version that I received is not quite the same as the list below – but similar. I received the Canadian Blonde (which is entirely suitable) – it came with a 2 Gallon Plastic Keg – and the ingredients to brew and bottle one 2 gallon batch of beer. ( I think the description below has a second container of wort and yeast to do one refill).
- “This Kit Includes two Mr. Beer All Malt refills to make 4 gallons of homebrewed beer
- Includes a 2 Gallon reusable lightweight shatter resistant Keg that is made from FDA compliant plastic, is BPA free and imparts no taste or flavor migration in your beer
- Each Mr. Beer Refill is all Organic, and GMO free and will produce a beer that is approximately 3.7% ABV
- This Kit comes with 11 reusable 740ml plastic bottles with caps and beer labels and Mr. Beers Easy to follow brewing instructions
- All the equipment in your Mr. Beer Kit is completely reusable, all you need is another refill to brew your next batch”
While I prefer the glass fermenter, I much prefer to make 2 gallons of beer at a time – so the plastic 2 gallon keg is a good idea. I always prefer glass to plastic, but the glass fermenters require corking and using a special hose aerator, while the plastic keg has it’s own simpler ventilated top and knozzle. Fewer steps – more beer must be better, I hope.
The most difficult things about this brewing process were:
-The manufacturers had stored some of the plastic beer bottles in the keg , and it was like a Christmas puzzle trying to get the bottles out of the keg.
-The keg has a little nozzle/spout that has to be attached to the keg with a washer. You have to follow the instructions carefully to avoid having the nozzle leak. I was as careful as can be and still had the tiniest of leaks from the nozzle, but there’s not much to do. But once I set everything up there was no leak at all.
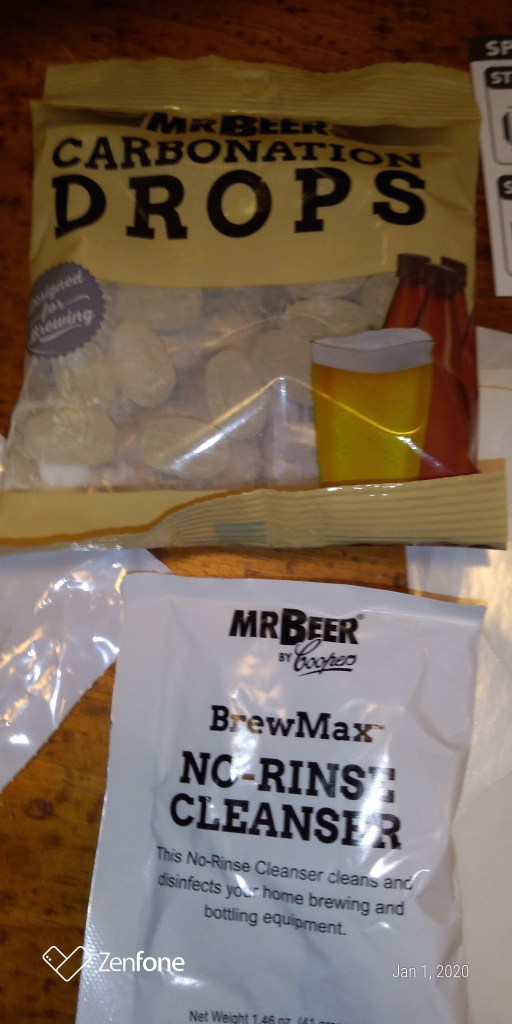
Both Mr. Beer and Brooklyn Brew provide sanitizing powder and good instructions for sanitizing. Everything in that step was fairly similar.
The brewing step itself involves mixing 4 cups of water with a booster provided.
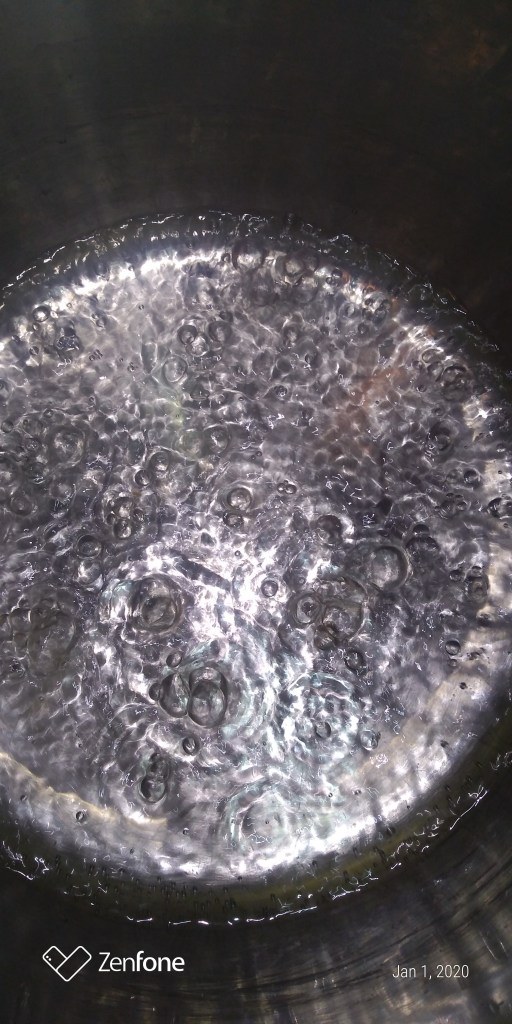
Boiling the mixture, removing from the stove and then adding the heated wort.

The difficulty in this step was getting the wort can open. A plastic lid concealed a packet of yeast which had to be removed before heating the can in hot water. I needed a fair bit of muscle assistance to get the lid off. Then the heated can was opened and poured into the boiled mixture.
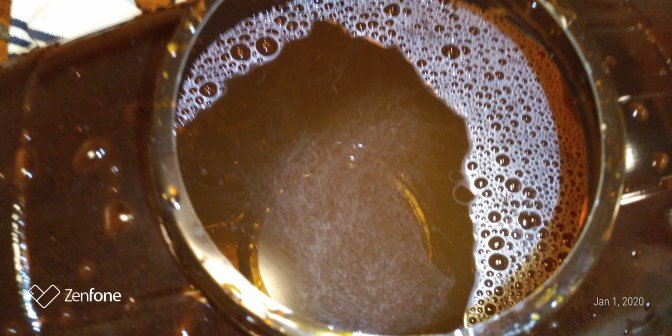
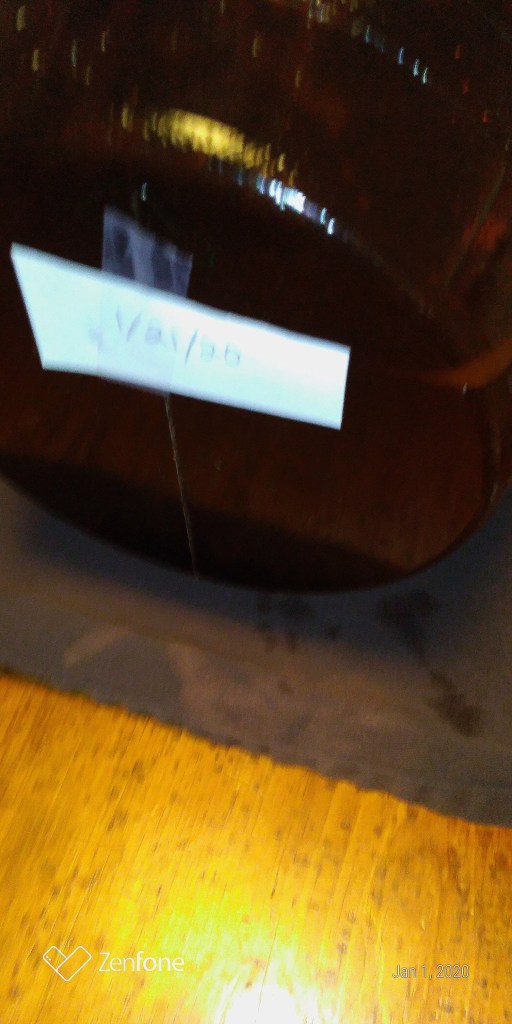
Refrigerated, filtered water was added to the keg to the 1 gallon mark. The hot mixture was then added and stirred in. More refrigerated filtered water was added to the keg to meet the 2 gallon line. The mixture was stirred. A packet of yeast was added with no more stirring and the lid was placed on the keg. I placed it on a tray to catch that elusive small slow leak, and put the keg away for 3 weeks. I will follow up with the bottling and enjoying steps in part 2 and 3.
The Mr. Beer kit did seem to have a much simpler process than the Brooklyn Brew Kit. With Mr. Brew, I opened a package, stirred and boiled, opened a can of molasses-like wort, stirred, poured in the keg with more water, added yeast and put the lid on. As I recall with the Brooklyn Brew Kit, I heated water, added a package of grain and cooked stirring regularly for an hour to make a mash. Then I put the mash in a strainer and poured hot water through this mixture into a pot, collecting about 5 quarts of water and then sending it back through the mash again to gather more flavour.
I was uncomfortable with the mash step when I did the Brooklyn Brew method, because I just wasn’t sure that i was doing it right. With the Mr. Beer kit, this is already done, so it’s much simpler. On the other hand, the beer seems a little less home made doesn’t it? I think if you want to learn to change your beer recipes around, you should start with Mr. Brew, and then go online to their site and look at the different recipes, refills and ingredients.
The Brooklyn Brew goes on to do a Boil step – which again is not part of the Mr. Beer method. This is another 60 minutes where you boil down the wort – but then you can add your hops to customize the flavour. This is not in my Mr. Beer, but I’m OK with that, and I think that you can alter your recipes when you are feeling a bit more proficient!
Except for my own spills of gallons of water, and difficulty with the spigot and packaging, the Mr. Beer kit was very easy to use, and a much more streamlined process than the Brooklyn Brew kit. I’m not sure how the rest of it will go, but in 3 weeks I will be bottling, so I will let you know. Happy Brew Year!

I have just added links to purchase directly from Mr. Beer, if you are in the United States! For Canadians, the Amazon link is here.
If you are placing an order from Mr. Beer, use the coupon code AFL-KEGV for a discount of 10% from your order.
This site contains affiliate links for which I may receive a small commission if you place and order, but will not result in any other cost to you! Cheers!


[…] been 3 weeks since I brewed a keg of beer using the Mr. Beer kit that I got for Christmas. Today it was time to bottle my beer. I had marked […]
LikeLike
Reblogged this on Everyday Lillie and commented:
I am reblogging my post from Gardenlove.food.blog – It is part 1 of 3!
LikeLike