
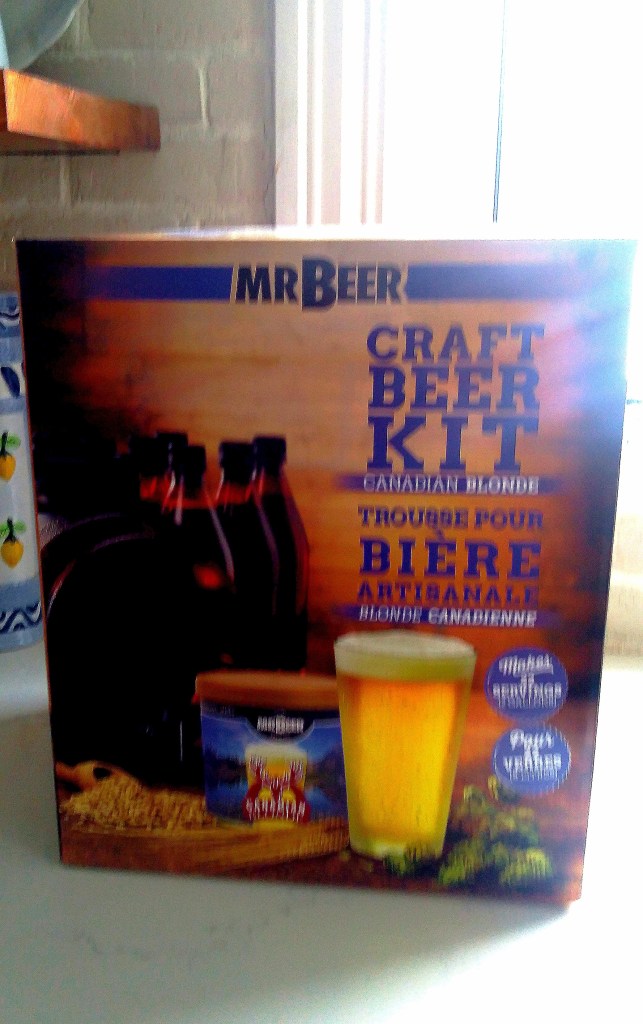
I waited 3 weeks after brewing a keg of beer using the Mr. Beer kit that I got for Christmas. Then it was time to bottle my beer. I had marked the date to bottle (3 weeks from the initial brew) on the outside of my keg. The brew time is between 3 and 4 weeks.
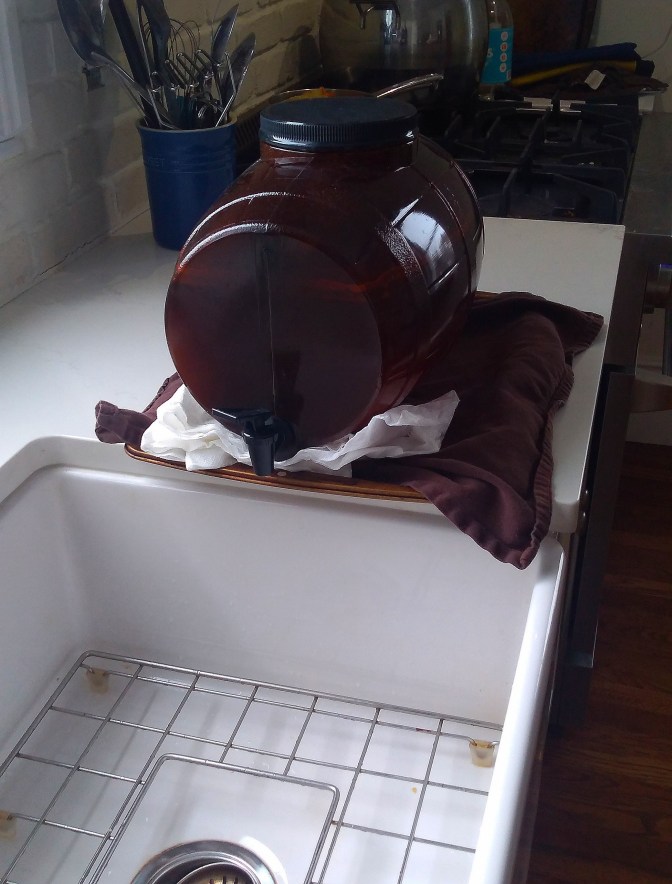
My husband had the great idea of tilting the keg just a little bit so that the yucky stuff at the top wouldn’t mix in to the beer when we eventually bottled it. We did this back when we first put the keg away – just put a few cloths under the spigot end to tip it back a bit. It’s important through the process not to move the keg around so that the sediment doesn’t mix into the beer.
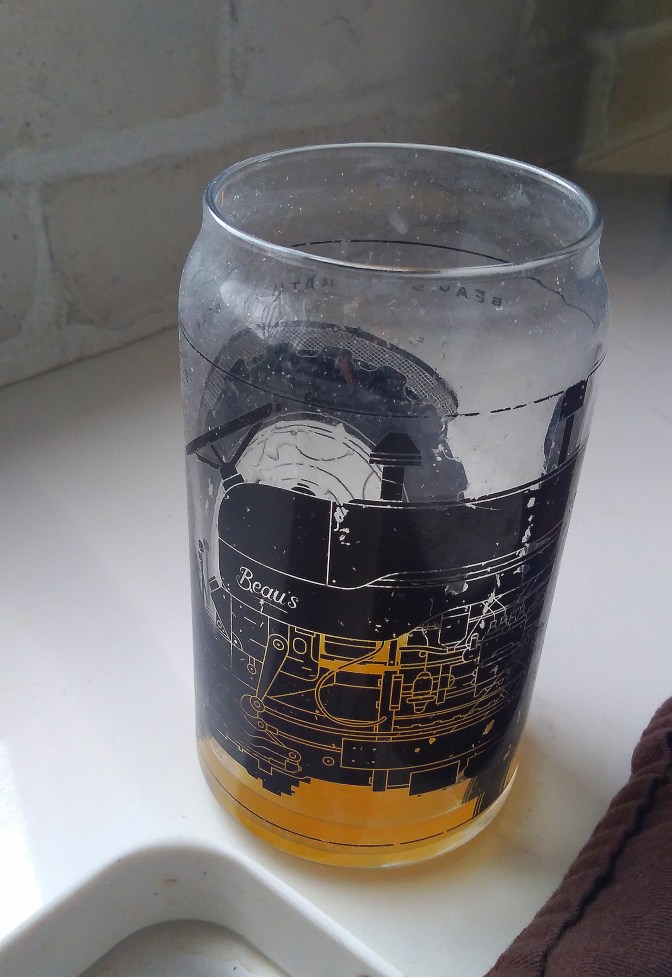
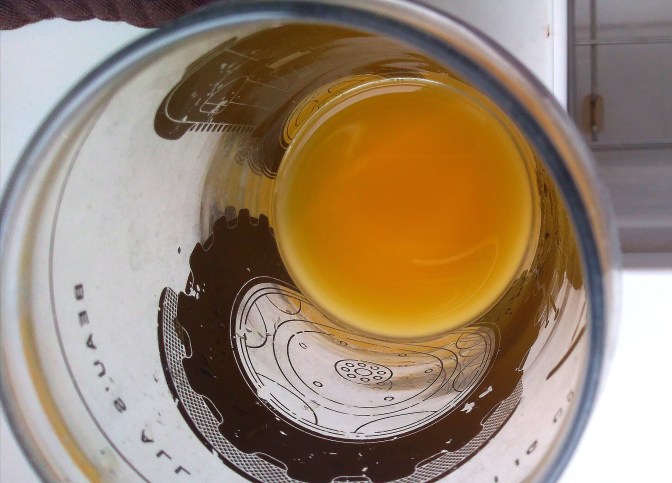
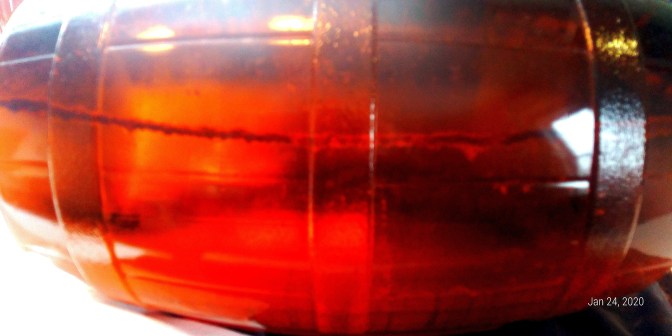
The keg of beer had been sitting at room temperature, out of direct light for 21 days, and I waited 2 more days – 4 weeks is the maximum though. I first had a sample of the beer, to see if it tasted like flat beer, as per the instructions. (Not because I couldn’t help myself, – really). There was a disturbing bit of sediment in the bottom of my glass, but I poured it out and it looks like it had just settled in the spigot, the rest was clear.
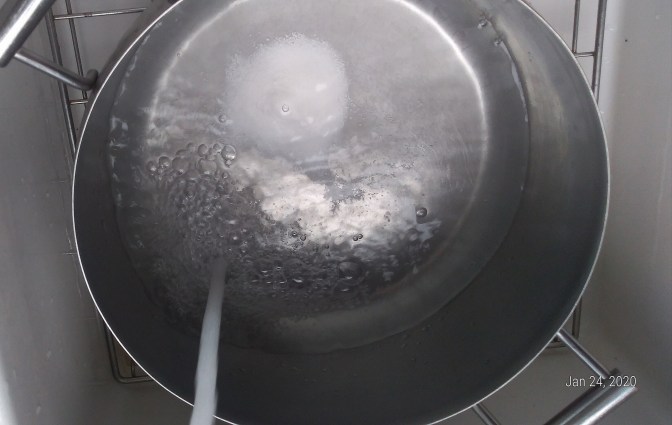
My brew kit came with 11 plastic bottles and lids. (Canadian Link). I already have glass bottles and a bottle capper, from a previous project. I would actually prefer to use glass bottles, and caps – I am an experienced canner of jams and salsas, so I love to wash bottles in the dishwasher, and sterilize everything in boiling water. That’s just me though. The plastic bottles though are BPA free – so that is a good thing! The kit came with it’s own bottle cleaning powder. Half was used for sterilizing the keg and equipment 3 weeks ago. I saved the other half (as per the instructions) to sterilize the bottles and caps.

The instructions call for a one gallon container – I used my pasta pot. I poured in the powder, poured in warm water and whisked it all together. Then I put each bottle and all the lids in the water, filled each one at a time, put on a lid – shook the bottle and let it sit with the liquid inside for 2 minutes.
After 2 minutes I poured the liquid into another bottle, and repeated the process. The only thing I found confusing was that I cracked the seal on a lid while tightening it on the first bottle. I decided just to keep reusing this one lid in the process, and it turned out I had an extra lid anyway, so it all worked out!
After all 11 bottles had been filled, swooshed, and emptied, I set them all aside and removed the lids from the pot as well. I then placed 2 carbonization tablets (included with the kit) in each bottle. These are sugar tablets, which react with the fermented beer to create the fizz. There are also instructions for substituting table sugar if you prefer.
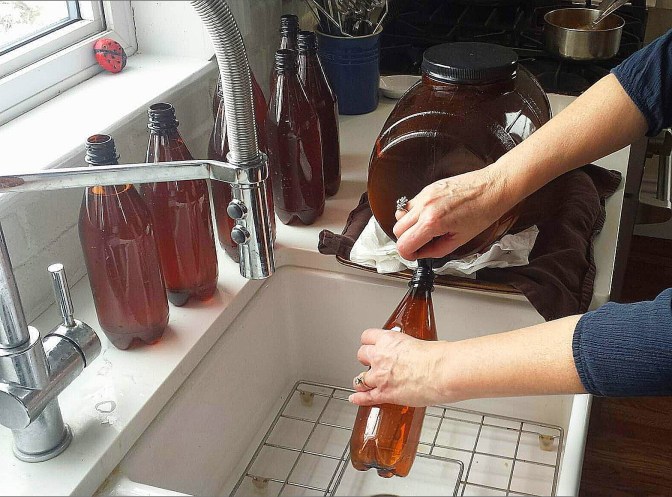
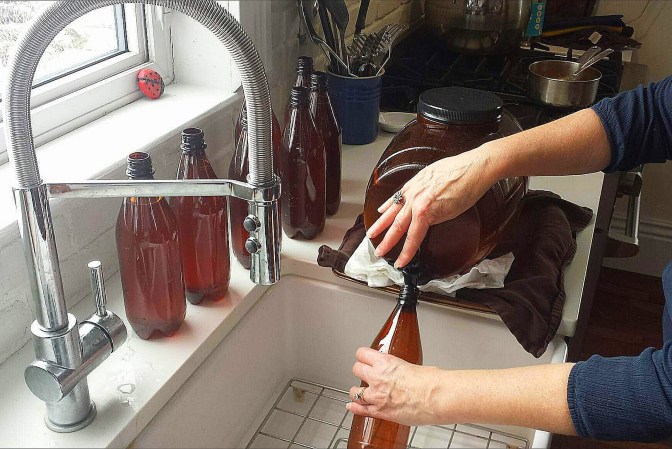
I began pouring the beer from the keg spout into each bottle. I tilted the bottles just a little to avoid foaming the beer – but not too much, as I spilled when that happened. I did the bottling with the keg spigot leaning over my sink to keep things tidy..
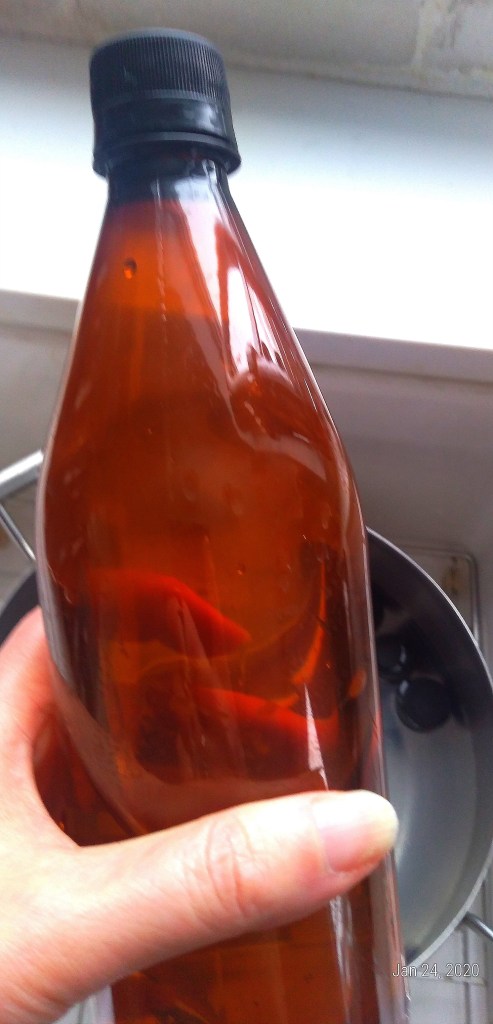
I filled each bottle to about one inch from the top, and screwed on the provided caps. This was nice and easy. By about the 10th bottle, I needed to tilt the keg forward a little, and I noticed some sediment in the beer. The 11th bottle was only half filled, as the rest of the beer in the keg looked too cloudy.
I put all of the sealed bottles in a room with no direct sunlight – but not too hot, not too cold. My basement is drafty and tends to drop below 68 degrees F, so the beer cannot go down there, as the carbonation would not take place! The beer also can’t be too warm, so just room temperature of 70-72 degrees F upstairs should work. The bottles will wait for 3 weeks, while they carbonate (fizz), and then they should be ready to cool in the refrigerator, for tasting! I will post about the beer in 3 weeks!
This process was very simple and uncomplicated with the kit from Mr. Beer. I will definitely re-use the kit, and will order a refill of another type of beer. (Canada link). In the United States, you can order directly from Mr. Beer, and the following is a coupon code that you can place on your order for a 10% discount: AFL-KEGV. In Canada I order from Amazon.ca. I will update you on further international links for Mr. Beer when they become available!

I also think that I will order the cleaning detergent recommended (but not included in the kit) and the sterilizing powder. I may use the plastic bottles again, or I may use some of the large glass bottles saved from my local craft brewery – and my own bottle caps and capper. The Mr. Beer kit included everything that I needed to start my brewing adventure, but I think it’s time to start another batch.

I cleaned up my empty keg and spigot immediately, with some unscented dishsoap and water, being careful not to scratch the insides of the keg. I then rinsed out the keg with the saved sterilizing solution from the bottling process. Now I’m shopping for a new variety – maybe –
This blog contains links to products and sites for which I am an affiliate, and may receive commission. I am providing the links to Mr. Beer products on Amazon, and have just added new links to purchase directly from Mr. Beer if you have a mailing address in the United States! I am recommending Mr. Beer because I have enjoyed making the beer. I will keep you posted when it is time to taste! Cheers!


Reblogged this on Everyday Lillie and commented:
I am reblogging part 2 of 3 of my Mr. Beer Adventure – this time bottling the beer.
LikeLike